I joined the RPS, Royal Photographic Society, in 2021 after completing an Open University 10 week course in Digital photography. The course covered different genres of photography as well as the usual exposure triangle and how focal lengths affect images.
However it wasn’t till early 2022 I finally put the stake in the ground and booked my LRPS assessment. There are written guides and guidelines to assist you in the process all of which offer good advice and also interviews with people who have previously submitted and successfully achieved the LRPS status.
They say ‘to become a Licentiate of The Society, applicants must show variety in approach and techniques but not necessarily in subject matter, demanding but achievable’. That was good as I couldn’t pin down a particular genre for this first submission as I have a broad range of subject matter from Nature, Landscapes, Portraiture to Documentary photography.
The next step though was to choose the images. I take several good images each week and many more that I discard for one reason or another! So how to select 10 images that are not only well composed but also when put together as a set flow and not just in subject mater but in colour and direction?
I decided I needed to go through a number of steps to narrow down what I wanted to present.
1. Rate images in Lightroom and then add these to a ‘potential images folder’. In hind sight I should rate images and tag them better as I review after shooting, something I try to remember to do now as it helps in finding an image later.
2. Print these images of which there were about 120+
3. Lay the images out on a flat surface so I could see what I really liked and also what might work together, this was initially down to 50 images once similar subjects were removed. This then quickly came down to the last 15, which was easier as I wanted to show differing image techniques, landscape, long exposure and panning with differing focal lengths for the subjects.
4. Now I just had to make sure they would layout next to each other. This is where I was glad I had physical prints as I could lay them out on a table and come back to them trying different layouts and moving images around. You are given a choice of layout templates so I went with a 3-4-3 layout.
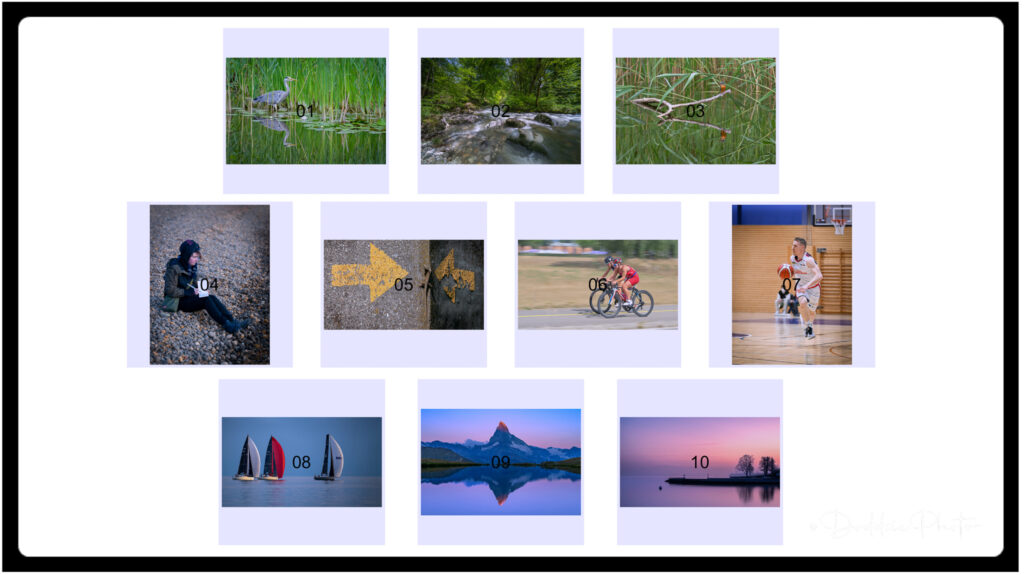
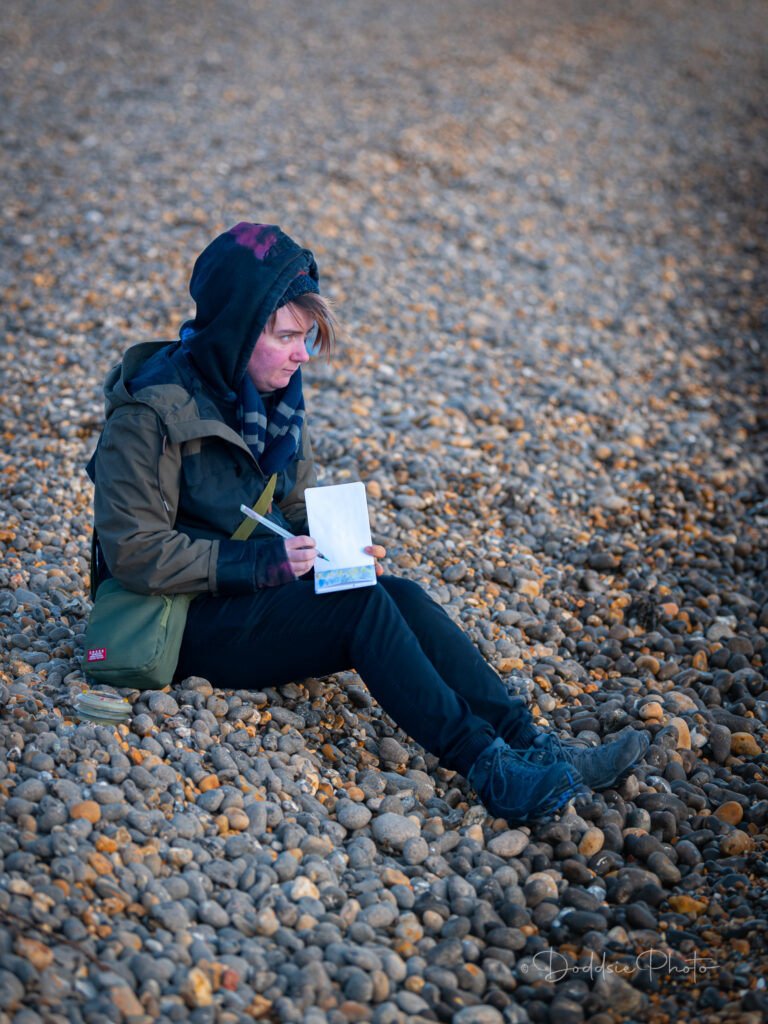
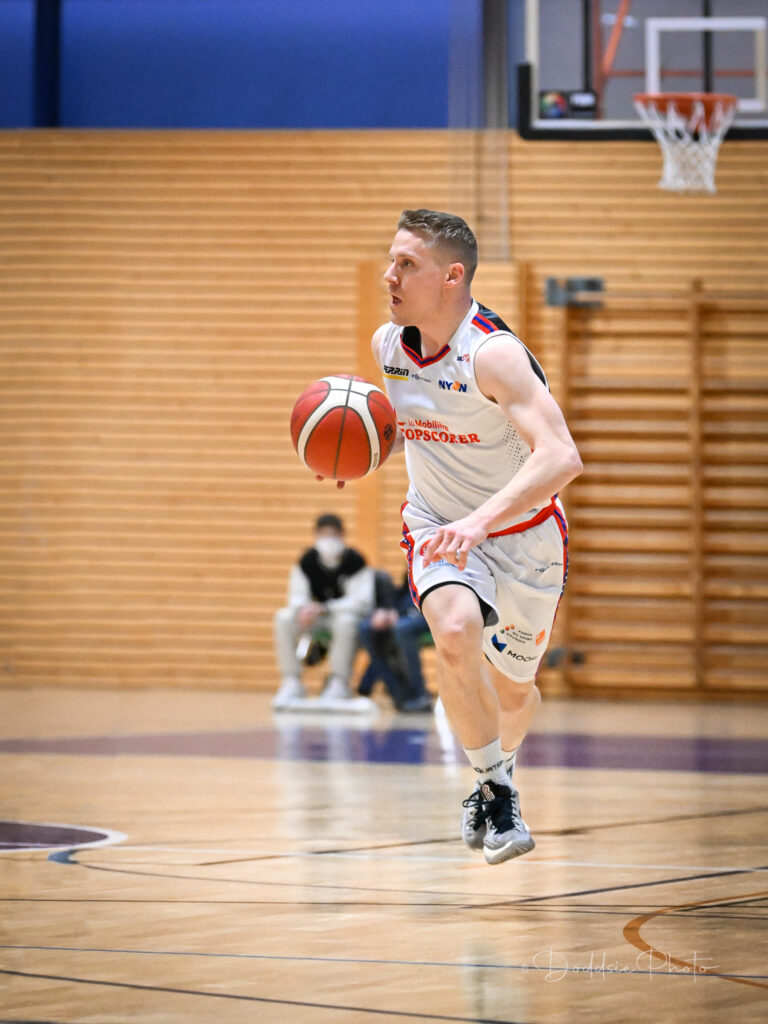
One hint here I will mention is always to have the outer image subjects looking in towards the other images. To make this work one image was flipped horizontally which felt wrong initially as I know which one it was but unless you were there you would never know, so that’s my secret!
Final Panel Layout.
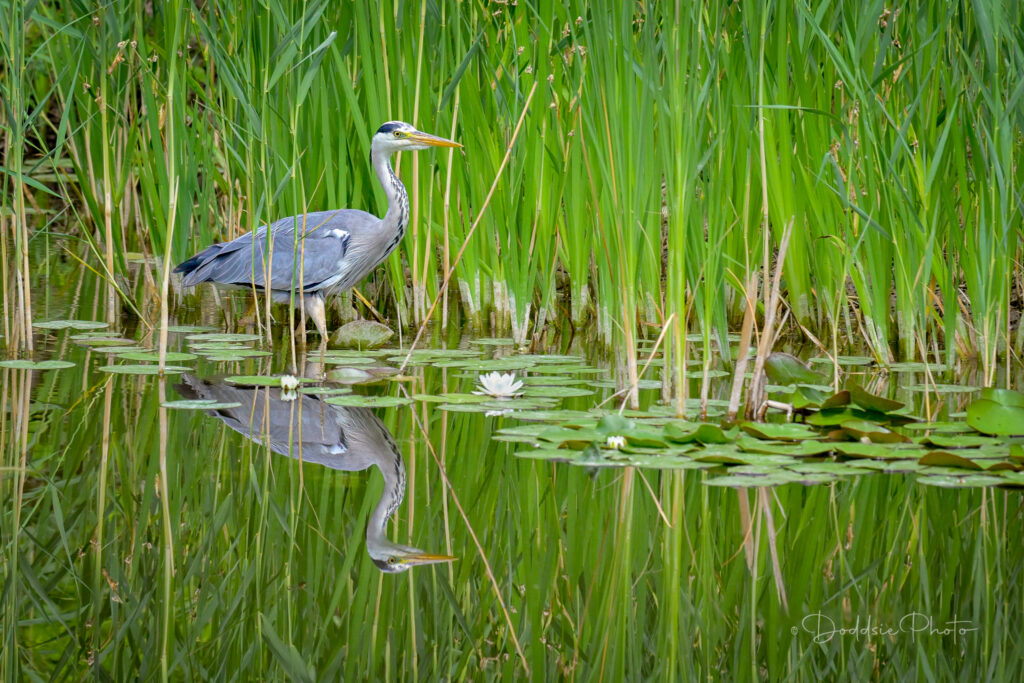
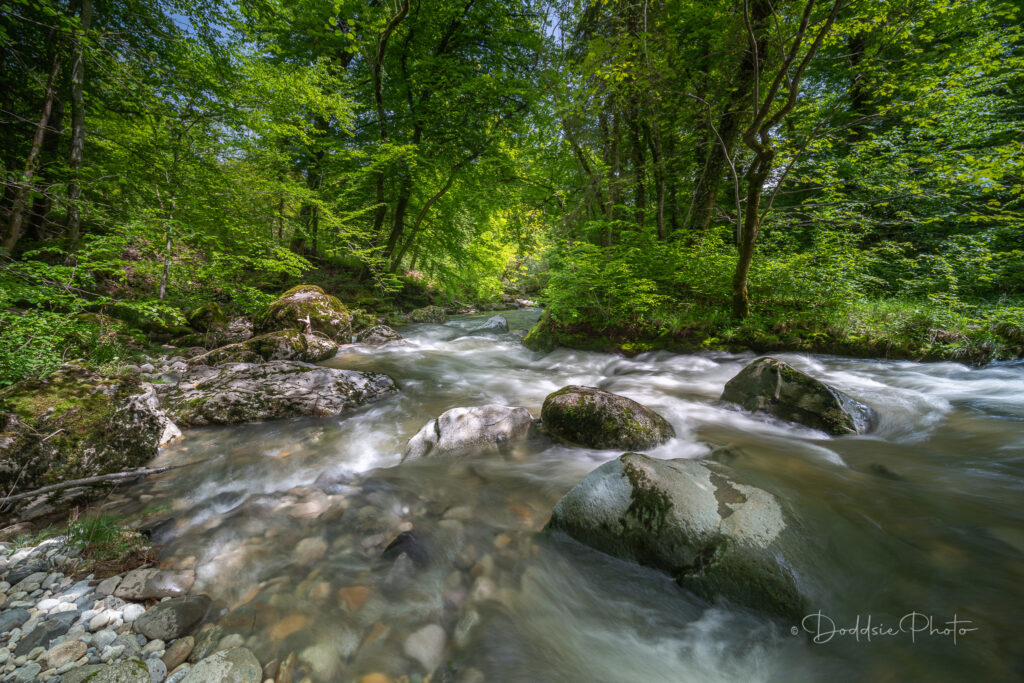
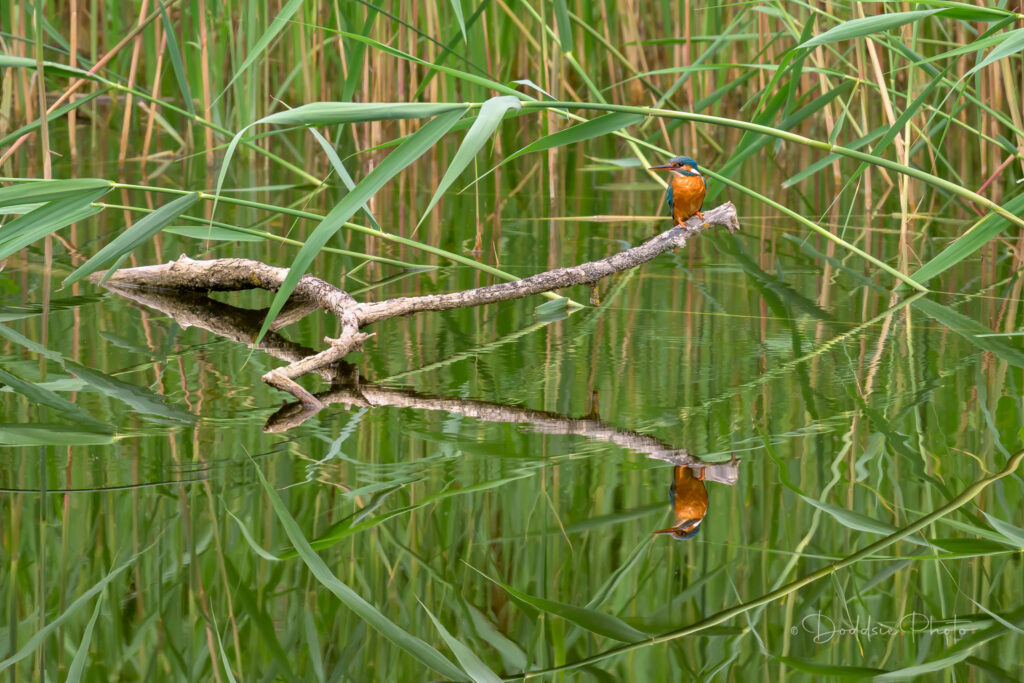
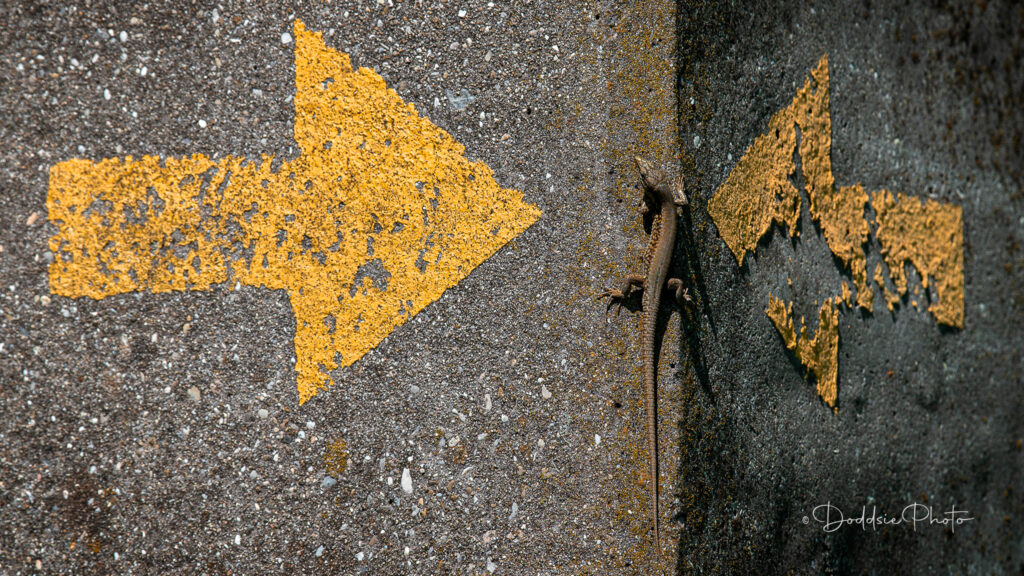
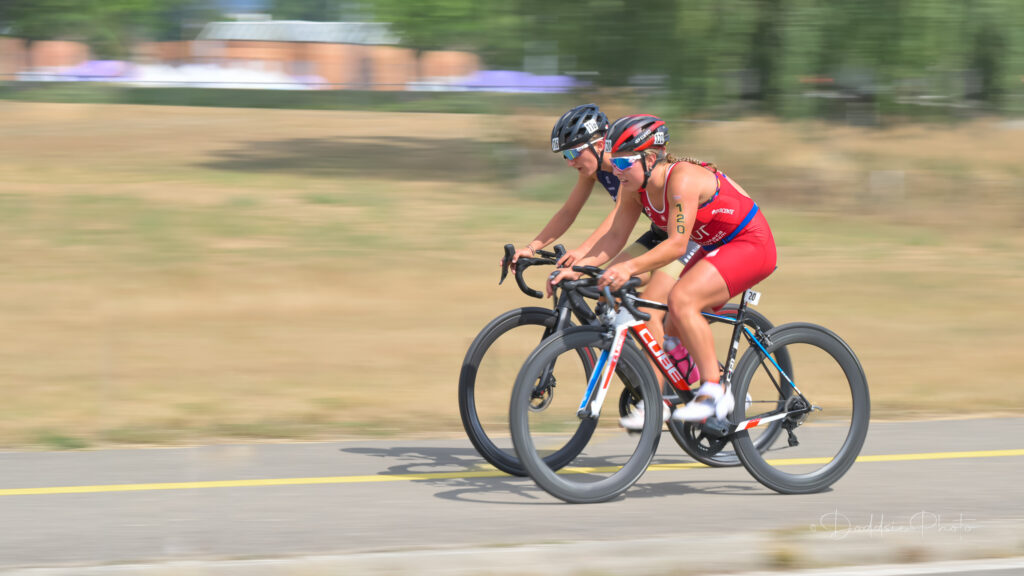

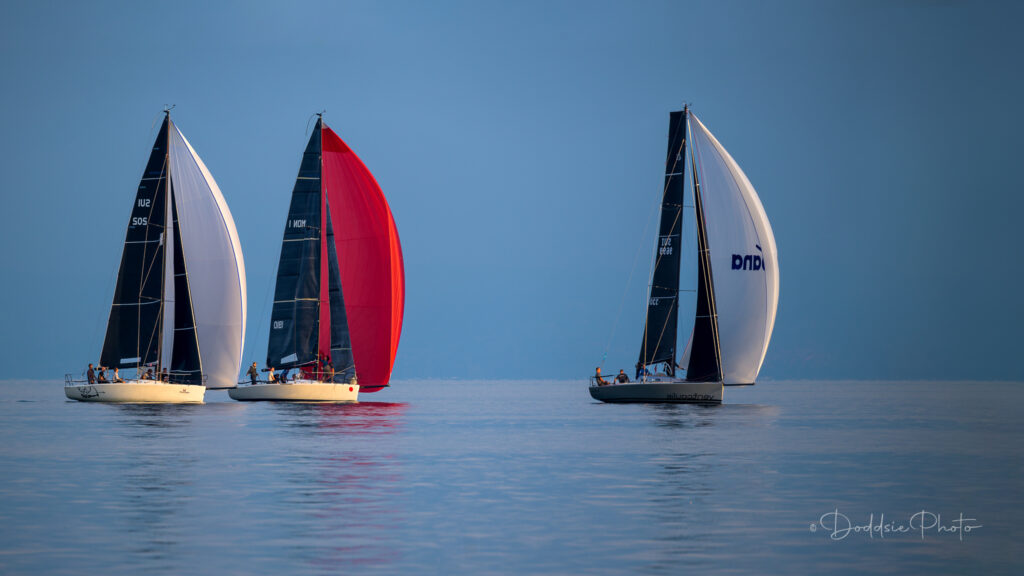
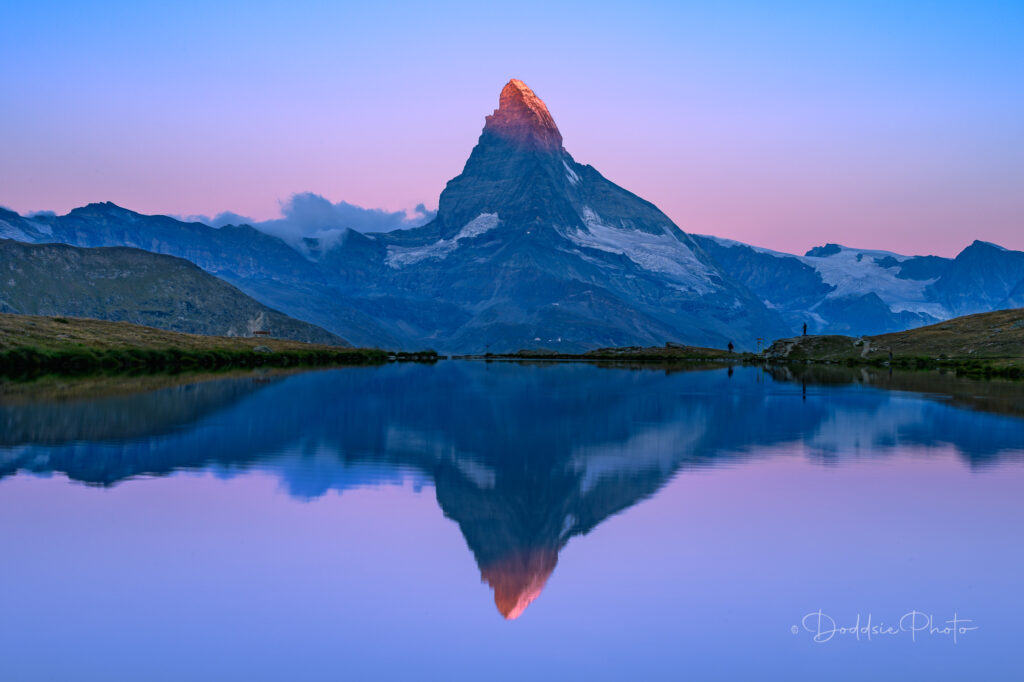
Since I chose a ‘DIGITAL FORMAT’ submision it was very important to get the image sizes correct and the colour profile of the images otherwise they would not display correctly on the projector where they are reviewed. Also it is very important to check your images for any dust spots or other such problems as they are displayed on a 3.75m x 2.04m screen! There is a really good resource which talks all about this on RPS site here. Also note that the image names are just a number 1 to 10 with no identifiable marks or copyrights unlike the images below.
Once submitted you’ve a month to wait to see what the assessors think and if you pass they announce it directly during the online assessment of yours and everyones panels. Well worth watching as you hear at least the opinions of 2 of the 5 panel members with maybe some comments from the others present. What I can say is the work and the wait for the announcement that you have passed is well worth it I was on a work break and my college heard the result in another room!
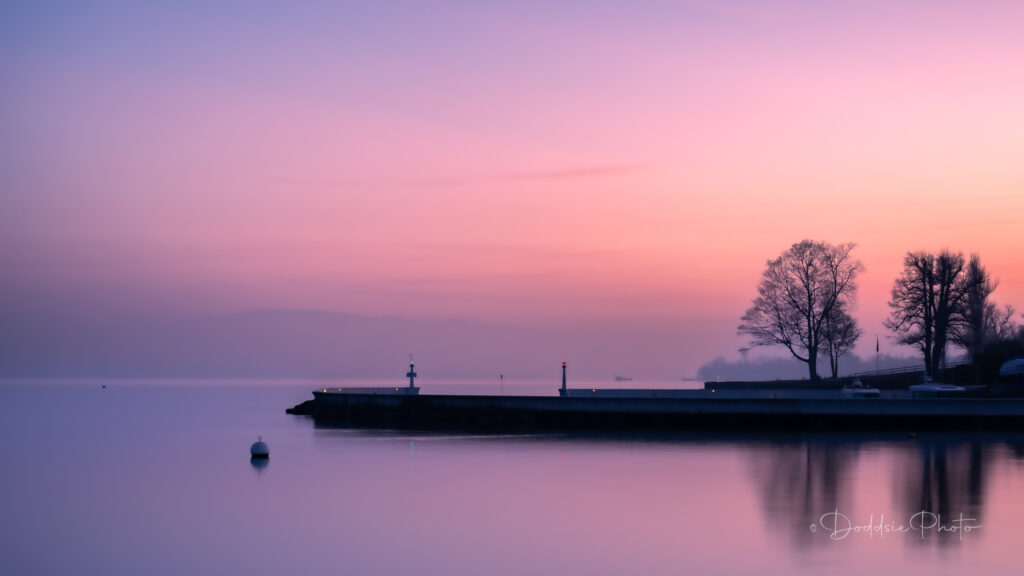
My images full size, enjoy!


